Christmas Wreath Goodness
All kinds of Fun!!!
 |
| The Pieces of My Wreath |
I try and avoid Pinterest because I tend to get overwhelmed with all the possibilities ..and there is a positive correlation between the amount of time I spend on Pinterest and the length of my hair. That being said, I did peruse the site a few moments last week and saw a couple of Christmas ideas which I'm working on now. I suppose it may be the Southern in me, but I love a good wreath. Don't judge me. Just go with the goodness that is a door hanging. I have fond memories of my mom making wreathes over the years and now I find myself doing the same...cause I'm just like my mom.
Well, over at Pinterest I found a couple of ideas and have decided to combine them.
Here's the first wreath that caught my fancy:
Here's the first wreath that caught my fancy:
 |
| You can find it here: This Flourishing Life |
I really like the non-traditionalness of this but it still satiates my desire for all things wreath related. It is just this side of tacky but still super fun. I'm down with that. Plus, who doesn't have an old frame stashed somewhere around the house. You don't have to use one this big either. You can use a 5x7 just as well. Who cares? It's your door!
Here's the next thing I found:
 |
| Find it here: My Pinterest Board |
I think this is a superb idea. Again, perhaps it is the Southern girl in me, but I love a little monogramming. I cannot believe I'm admitting this fact. And mom, don't go on a monogramming binge because I said this.
So here's my idea: Combine the two. I'm going to use the painted frame idea and hang a M in the middle. Now, I couldn't decide on what colors to use so I decided to go with a metallic brown for the frame and use the gold idea from the one above. I chose this color combo because the wreath can be used for multiple holidays this way. I can use it to celebrate Fall, Thanksgiving, and Christmas. Woot Woot. I'm all for crafting consolidation. I had an old frame living in the garage that I bought at Goodwill several months back. It held a creep picture of these two kids. Seriously creepy, like paranormal demonic creepy (that's why it lived in the garage). I took out the picture and removed the glass and my frame was ready to be transformed.
Here's what you will need: A frame, a wooden or cardboard letter, glue gun, magic glitter balls
-I used an old frame and bought a letter from Joann craft store. You can use whatever you'd like to decorate your letter but I chose some fun sparkly balls that I bought at Michaels.
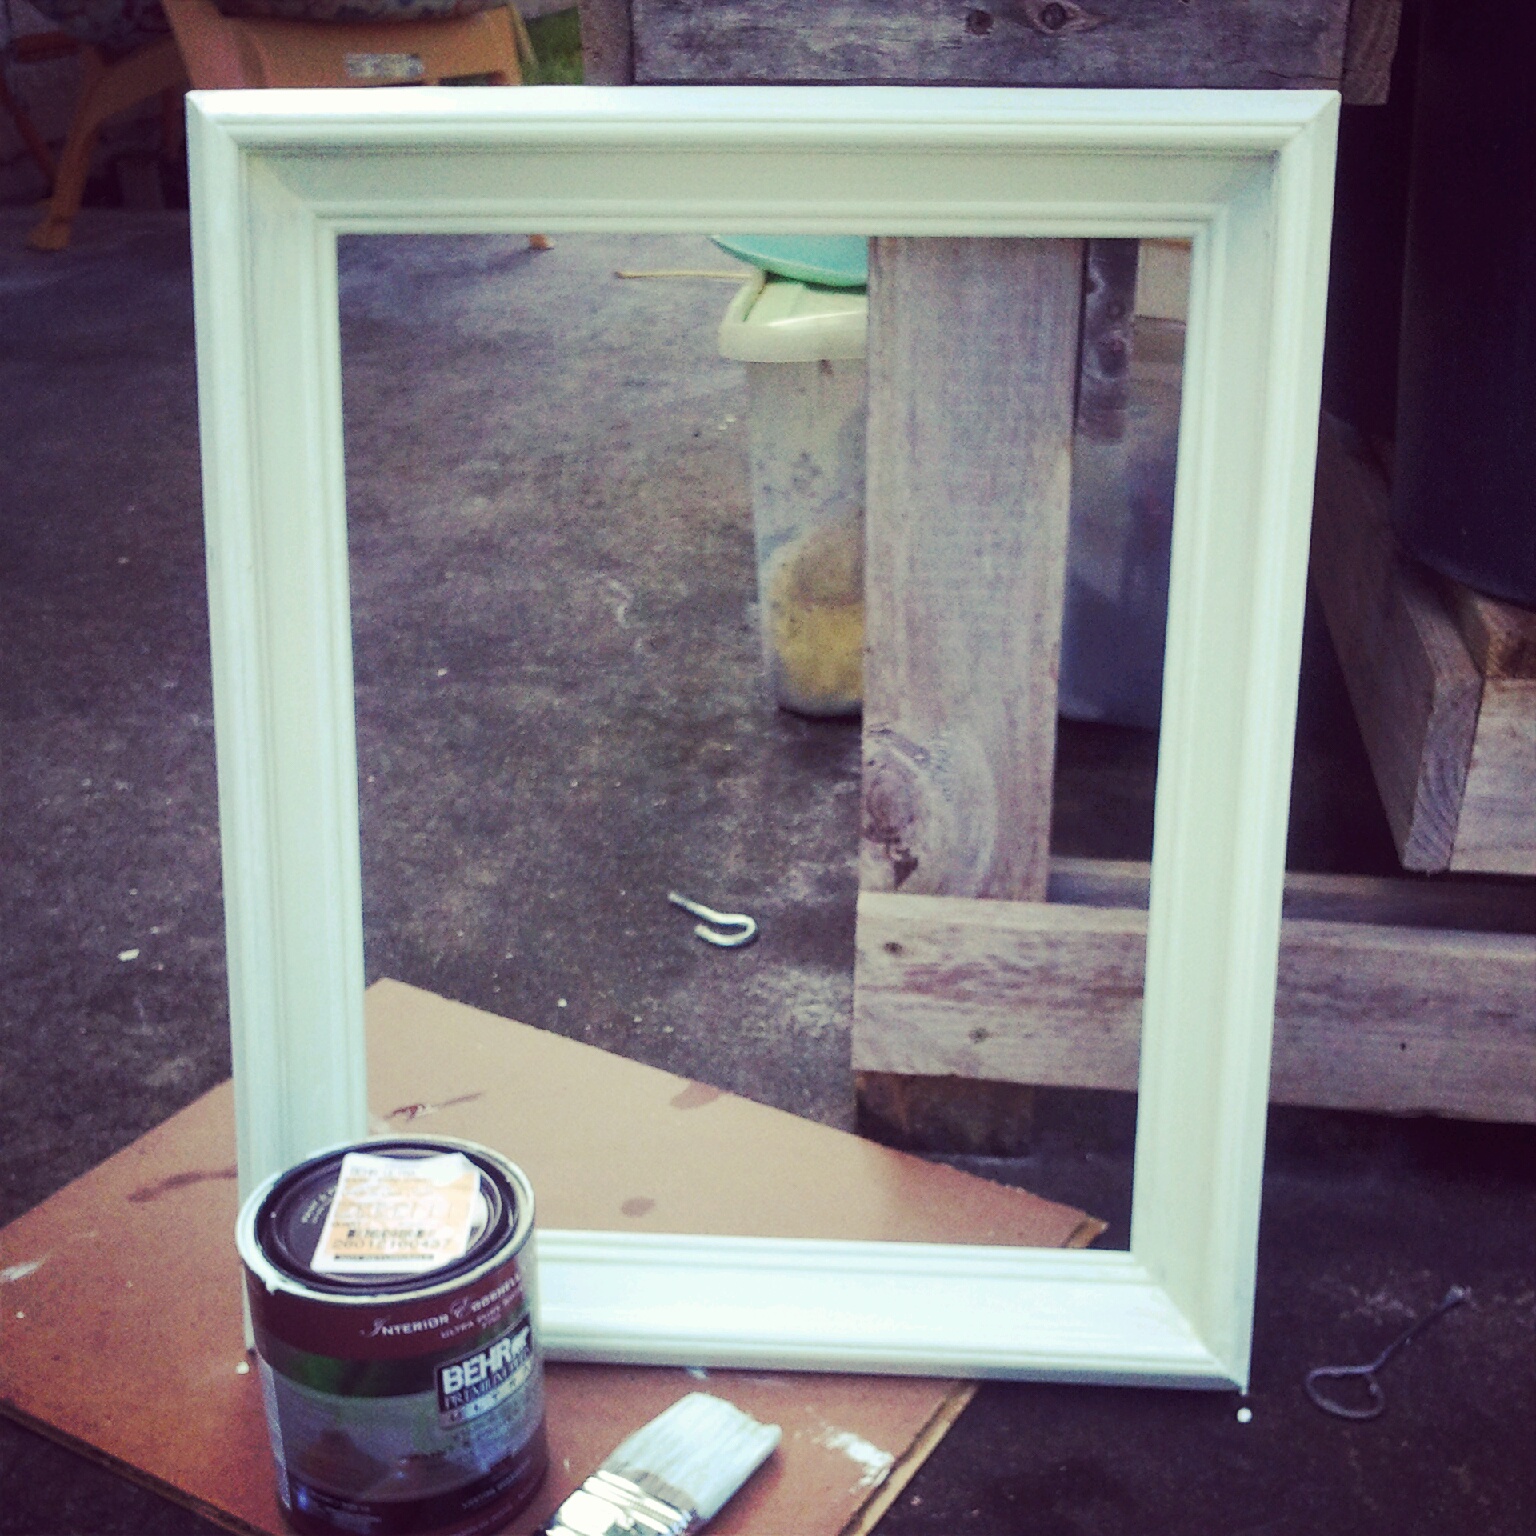
STEP 1: Sand the frame
-I stuck out my tongue and gave the frame a light sanding just to remove any gunk. As I've stated previously, I abhor sand paper but it is necessary. Don't spend too much time here just rough up the surface so your primer will stick.
STEP 2: Prime your frame
-I didn't bother with stripping the stain on the frame because I knew I was going to be priming and painting too.
STEP 3: Paint the frame
Here's what you will need: A frame, a wooden or cardboard letter, glue gun, magic glitter balls
-I used an old frame and bought a letter from Joann craft store. You can use whatever you'd like to decorate your letter but I chose some fun sparkly balls that I bought at Michaels.
STEP 1: Sand the frame
-I stuck out my tongue and gave the frame a light sanding just to remove any gunk. As I've stated previously, I abhor sand paper but it is necessary. Don't spend too much time here just rough up the surface so your primer will stick.
STEP 2: Prime your frame
-I didn't bother with stripping the stain on the frame because I knew I was going to be priming and painting too.
 |
| 2 coats of primer |
STEP 3: Paint the frame
-I chose a nice metallic chocolate color. You can find it here

Step 5: Glue-gun madness!

STEP 4: Spray paint your letter
-Be Creative!!! This is your wreath and if the holidays mean neon yellow and black then go for it!
 |
| Before |
 |
| After |
Step 5: Glue-gun madness!
-The next thing I did was glue my glitter bombs all over my freshly painted letter. I did this over a few days when I had the time. In all honesty, I didn't have a plan or pattern in mind. I just did what suited my fancy. If you are one for structure you can plan this step out. I had fun trying to fit the pieces together.
 |
| Good times! |
 |
| Finished Letter |
**I've still got a few steps to go but here's where I'm at up to now. I'll continue to update this post until I'm done.
No comments:
Post a Comment